Buildfolio
M1

Package prep

OtherAdvancedWeekend build

Cream Cheese Crackers shaped Eraser

A jumbo fun eraser shaped like a pack of Cheese Crackers

Ronit Yanushkevich
· updated about 1 month ago
Build progress · 0/3 steps0%
Cream Cheese Crackers shaped Eraser

0 of 3 steps completed

  1. Step 01.01: Opening cracker packages

    With this step you have to be gentle and accurate. Have a few extra cracker packages with you in case some get damaged while you experiment.

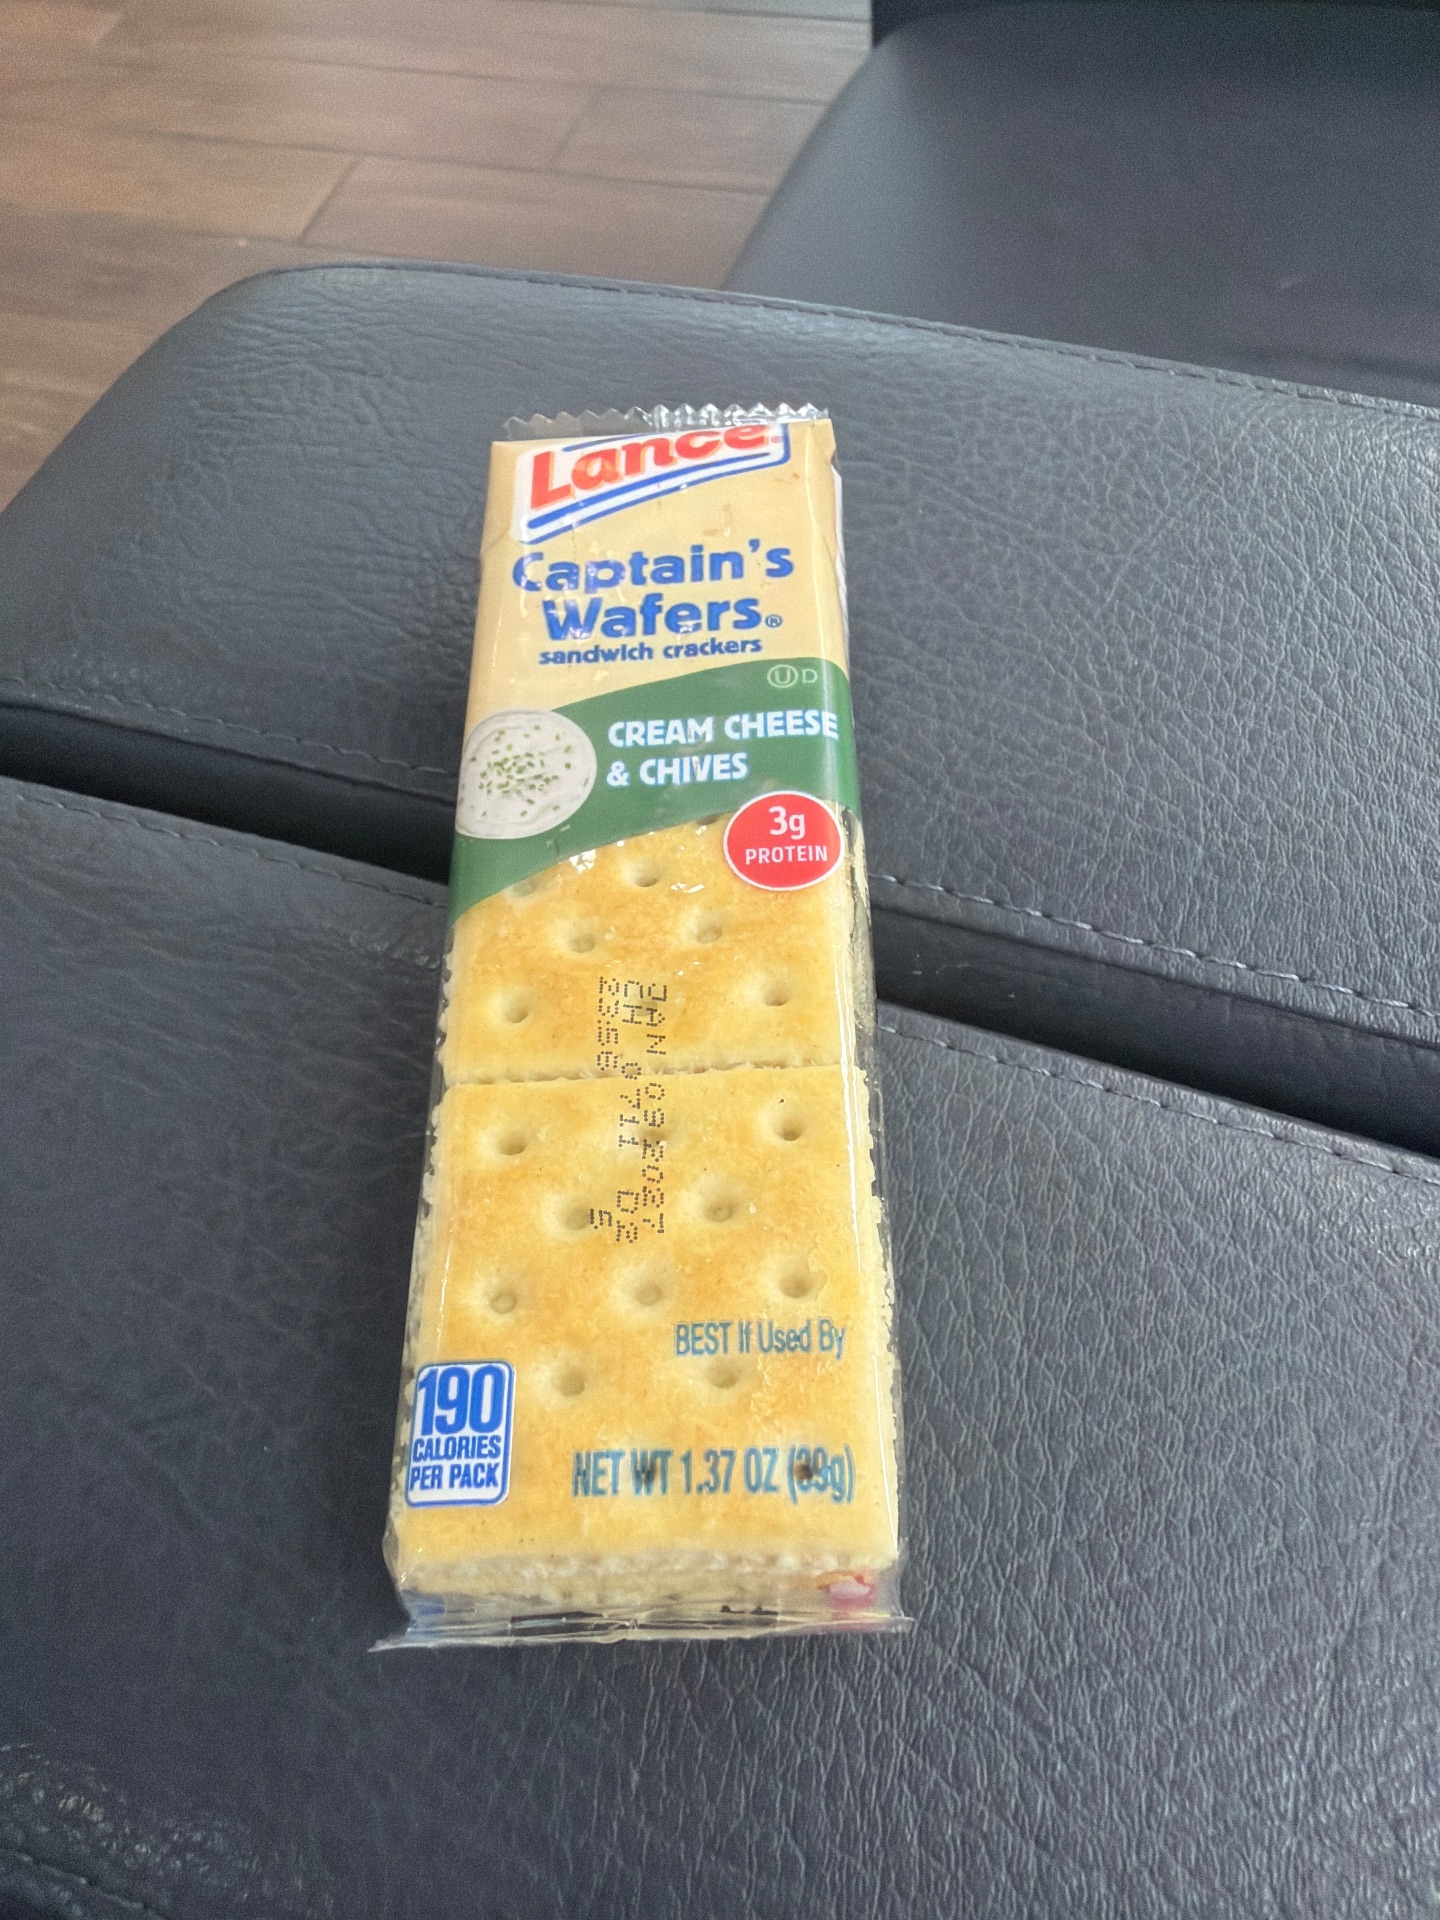
    Buy at least 3–5 packages of the exact 1.37 oz variety.

    Keep:

    • Outer cardboard/package
    • Individual inner cracker wrapper, if present
    • Any cardboard insert
    • Original labels/printing

    Don’t throw anything away yet.

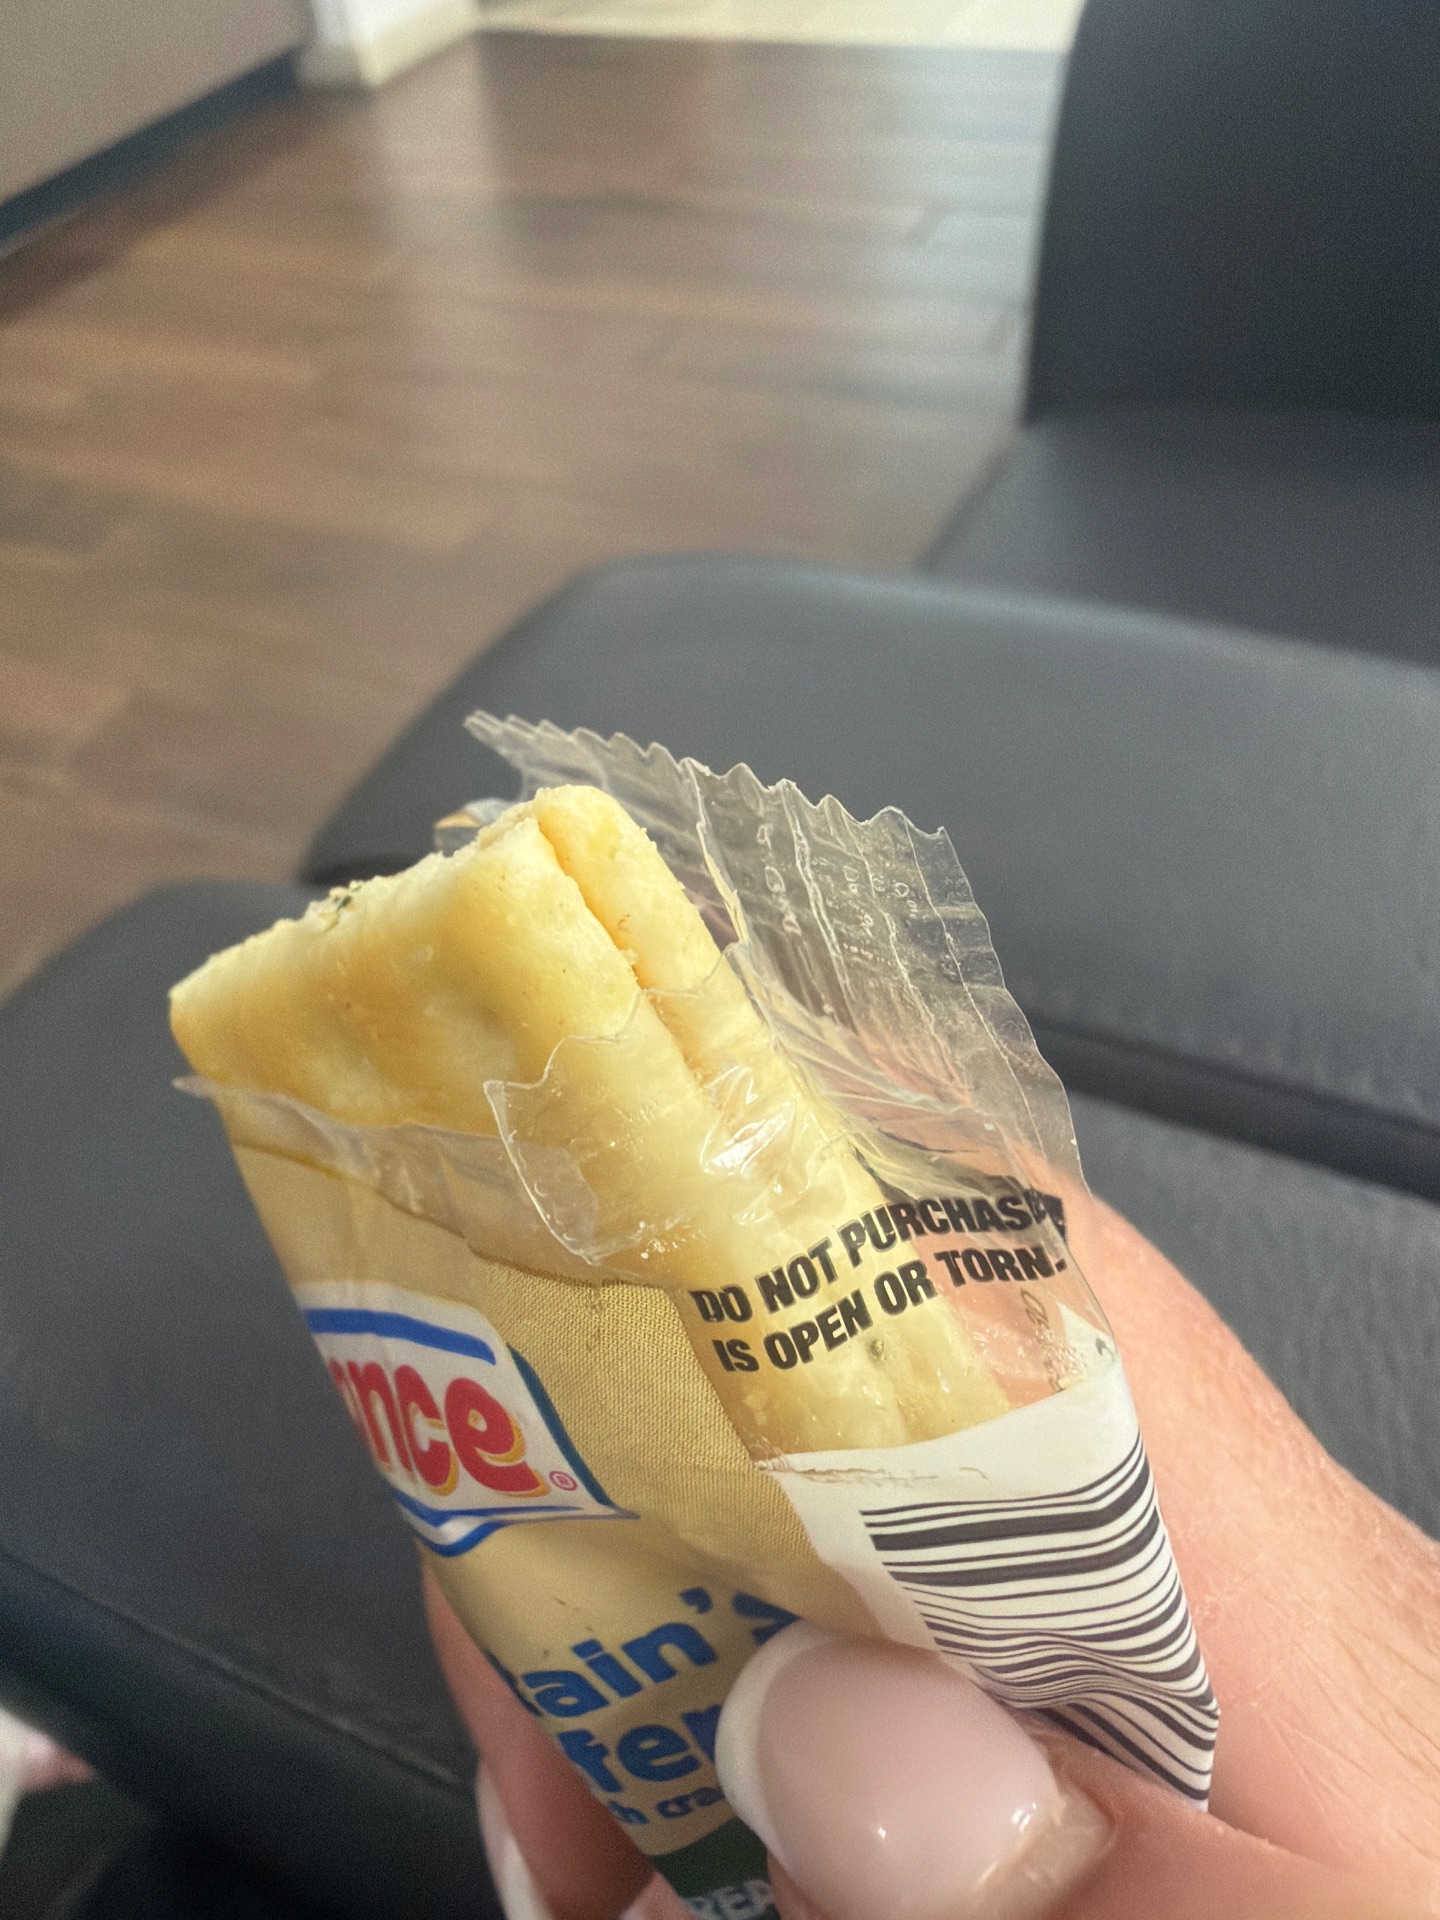
    Gently pulled the heat seal area apart so the package is opened but not damaged.
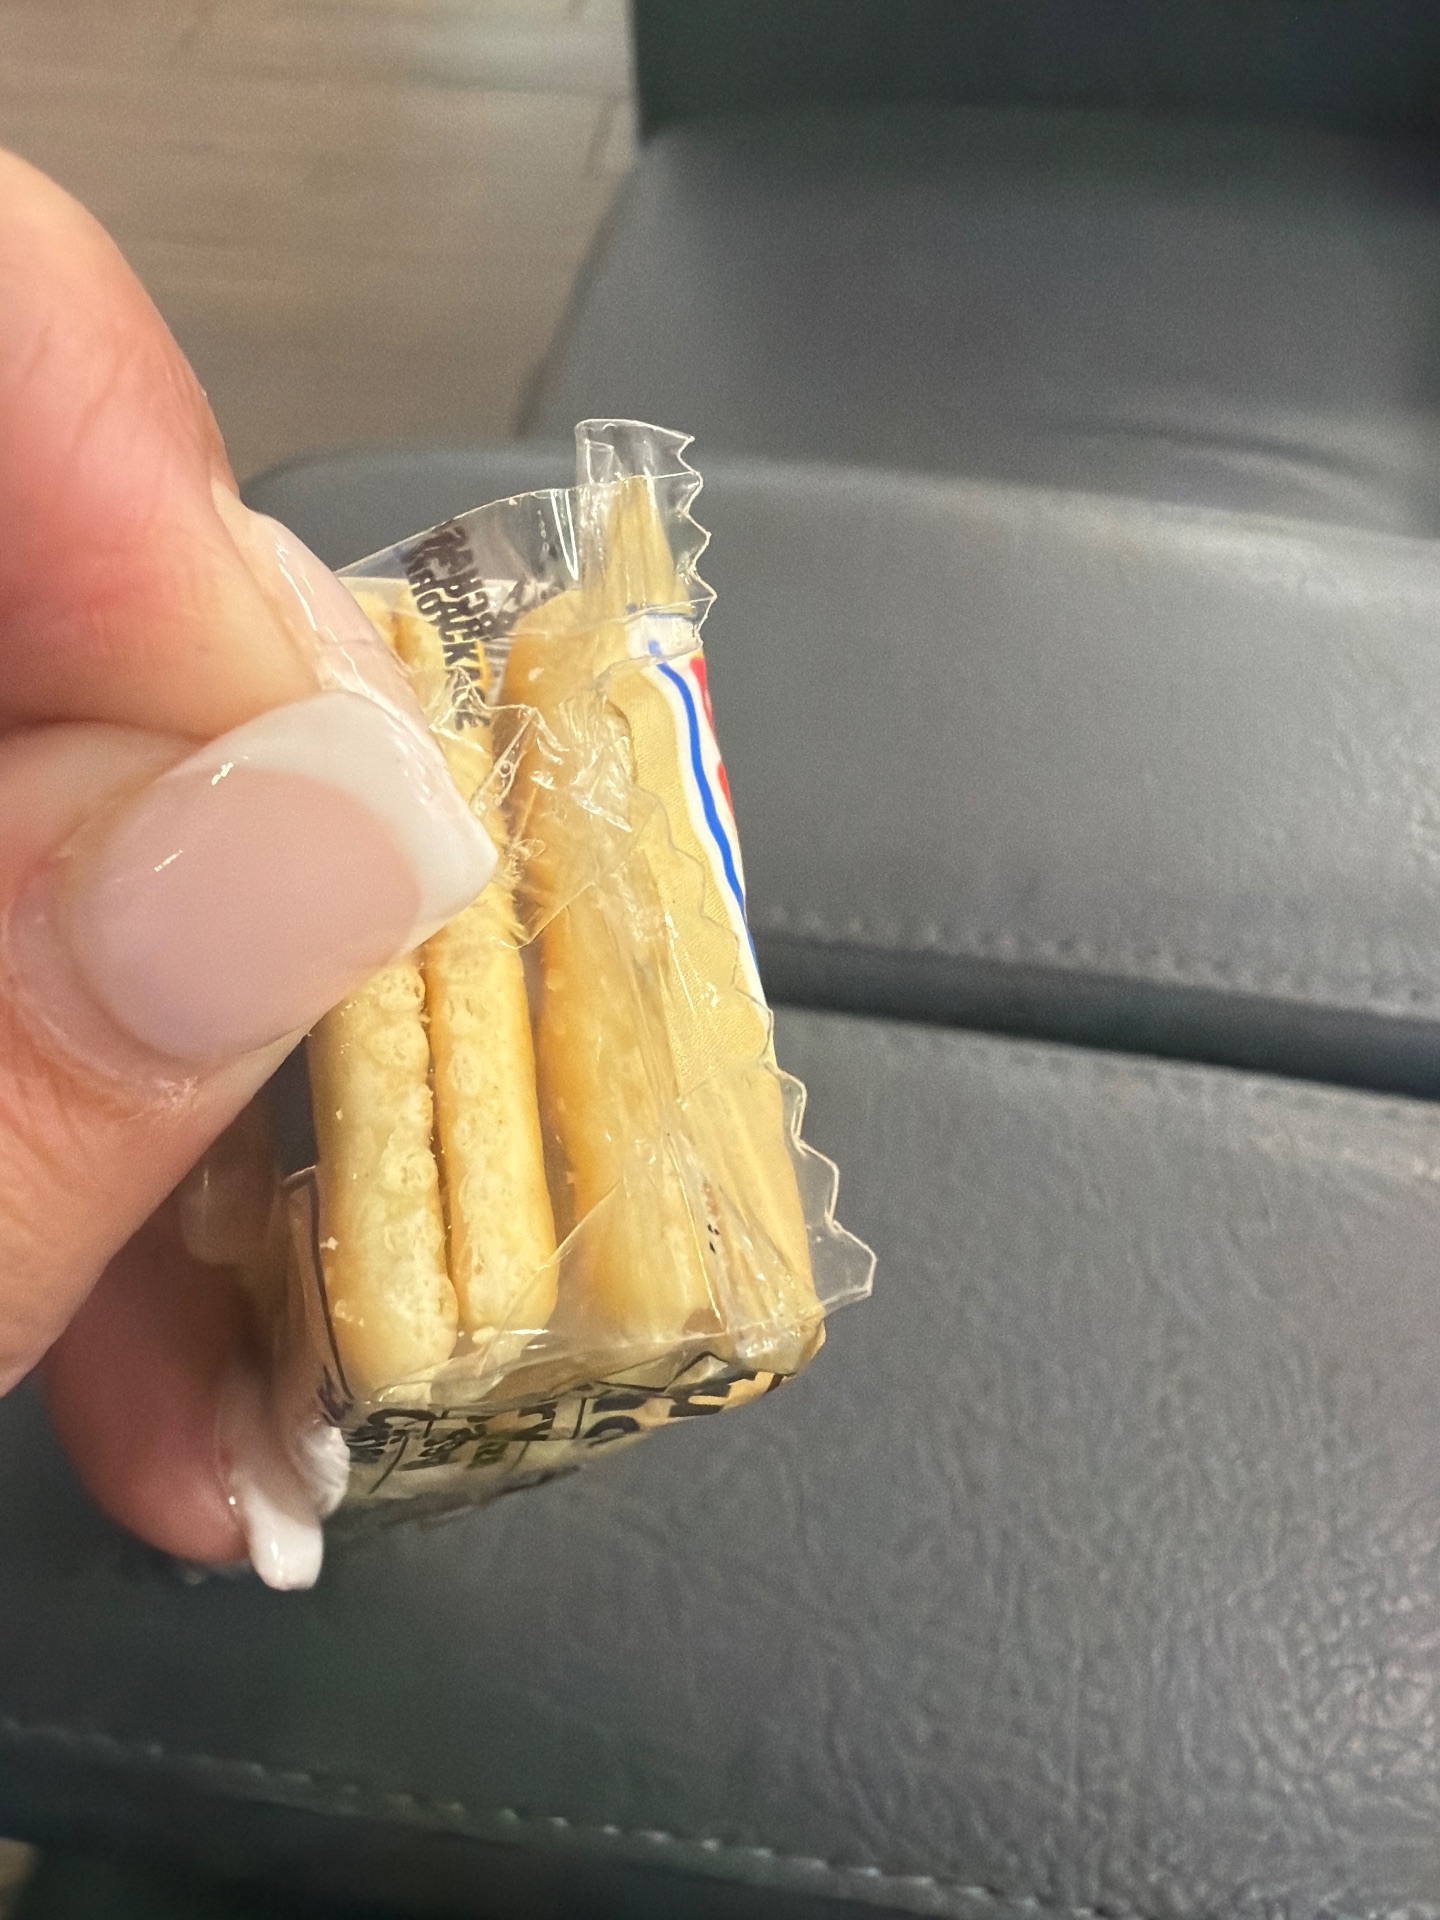
  1. Step 02.01: Removing the first crackers

    The first crackers can be tricky to remove as the packaging content is quite tight. I gently remove the first cracker by nudging it a bit with my nail.

  1. Step 03.01: Untitled step

    Best cleaning method

    1. Empty it completely
      • Hold the wrapper open and gently shake/tap it over a trash can.
      • Don’t use anything sharp to scrape the inside.
    2. Remove loose crumbs
      • Use a soft, dry microfiber cloth or a very soft makeup/artist brush.
      • Gently brush the inside, especially the sealed corners where crumbs collect.
      • A small hand air blower can also work well.
    3. Test the material first
      • On a hidden part of the wrapper, touch a cotton swab dampened with water to the inside.
      • Check that the film doesn’t become cloudy, sticky, or damaged.
    4. Wipe with barely damp water
      • Use a microfiber cloth or lint-free cloth.
      • It should be damp, not wet.
      • Wipe the inside gently in one direction.
      • Concentrate on areas where cracker crumbs or seasoning were sitting.
    5. Deal with greasy spots
      • If water doesn’t remove an oily spot, use a tiny amount of mild dish soap diluted heavily in water.
      • Put the diluted solution on the cloth—not directly into the wrapper.
      • Gently wipe the contaminated area.
      • Then wipe again with a separate cloth dampened with plain water.
    6. Don’t soak the wrapper
      • This is important.
      • Don’t fill the wrapper with water or rinse it under the faucet.
      • Water can get between laminated layers or into the existing heat-sealed seams.
    7. Dry the inside thoroughly
      • Open the wrapper as widely as possible.
      • Leave it open at room temperature until completely dry.
      • You can gently use cool air from a fan.
      • Avoid a hair dryer or heat gun—the packaging can distort or shrink.
    8. Final inspection
      • Run a clean finger or microfiber cloth over the interior.
      • It should feel dry, smooth and non-greasy.
      • Check the seams for remaining crumbs.
Report Project